- The Quiltdom Press
- Posts
- Quiltdom Press Newsletter- Issue #4
Quiltdom Press Newsletter- Issue #4
Featured patterns, tips, tools and fabrics
The Quiltdom Press
July 07, 2024

Welcome to another edition of Quiltdom Press! For those of you in the U.S., we hope you had a wonderful Fourth of July celebrating with family and friends.
In this week's newsletter, we dive into the world of quilt sandwiches and all things basting.
With another beautiful fabric feature and more fun, summer-inspired patterns, your list of things to quilt will surely be longer after you’re done reading.
Here’s what you’ll get today!
Tips to Make Your Quilting Life Easier: How to Make a Quilt Sandwich
Tools We Love: Curved Safety Pins
Fabric Feature: The Heirloom Collection
Make Your Life Quilty: Inspiration from Around the Web
“Creative work is a gift to the world and every being in it. Don’t cheat us of your contribution. Give us what you’ve got.” – Steven Pressfield
TIPS TO MAKE YOUR QUILT LIFE EASIER: HOW TO MAKE A QUILT SANDWICH
If you are reading this right now, you’ve likely heard the term “quilt sandwich”! You may be confused by it, and that’s totally fine!
No, it’s not a yummy meal you eat while quilting (although you can certainly do that, too!). It refers to basting together your quilt top, batting, and quilt backing.
Basting is the essential step before quilting. It basically means temporarily holding these layers together until after the quilting process. Basting your layers together is crucial to help prevent shifting, bunching, puckering, etc. We find it plays a huge part in being successful with the quilting itself!
To make your quilt sandwich, you will need your finished quilt top, batting, and backing fabric.
Cut your batting about 2 inches larger than the quilt top on each side. Cut your backing fabric 2-4 inches wider than your batting on each side. This extra room gives you plenty of space, just in case things shift slightly during the quilting process.
Once you have your pieces cut, you’ll want to make sure you iron your fabric nice and flat. Basting wrinkly fabric kind of defeats the purpose! Now, lay down your backing with the right side of the fabric facing down.
If you are working on a larger project, you can spread it out on the floor and even use masking tape to secure it completely flat and taut. Then, you’ll lay down your batting. Last, you’ll lay down your quilt top right side up.

This tutorial by Alanda Craft walks you through each step with pictures!
Once you smooth everything out, making sure there are no wrinkles or bumps anywhere, you can begin the basting process!
There are quite a few different options: safety pins, basting spray, basting gun, hand sewing, and more.
Click the links below for tutorials with each tool:
Ultimately, the basting method you choose is a personal preference—it's different for every quilter!
Some options are more effective than others, depending on your situation. We recommend trying each of them to see what works best for you.
Once you’re done basting, you can begin quilting. Enjoy!
GAME-CHANGING TOOLS: CURVED SAFETY PINS
Standard safety pins are among the most common tools for basting quilts, but have you tried curved ones?
Curved safety pins like these will level up your basting game, rocking in and out of your quilt sandwich with ease.
What’s so great about curved safety pins? The curve allows them to go down and back up through your quilt sandwich with far less fuss than straight ones.
This can ultimately reduce shifting and create a more accurate basting process.
More basting resources:
⇒ Basting guns: Maybe you don’t want to take the time to put in a bunch of safety pins. Or maybe your hand just can’t take it. Give this basting gun a try!
It will ultimately give the same result but uses plastic tags to hold your quilt sandwich together.
⇒Basting spray: Probably the quickest basting method out there! You just spray between your batting and quilt top/backing and press them together by hand.
⇒Make your own basting spray:In a bind (pun intended :)) or even just trying to save money? HollyAnne Knight walks you through how to make basting spray with just a few simple household items.
FABRIC FEATURE: THE HEIRLOOM COLLECTION
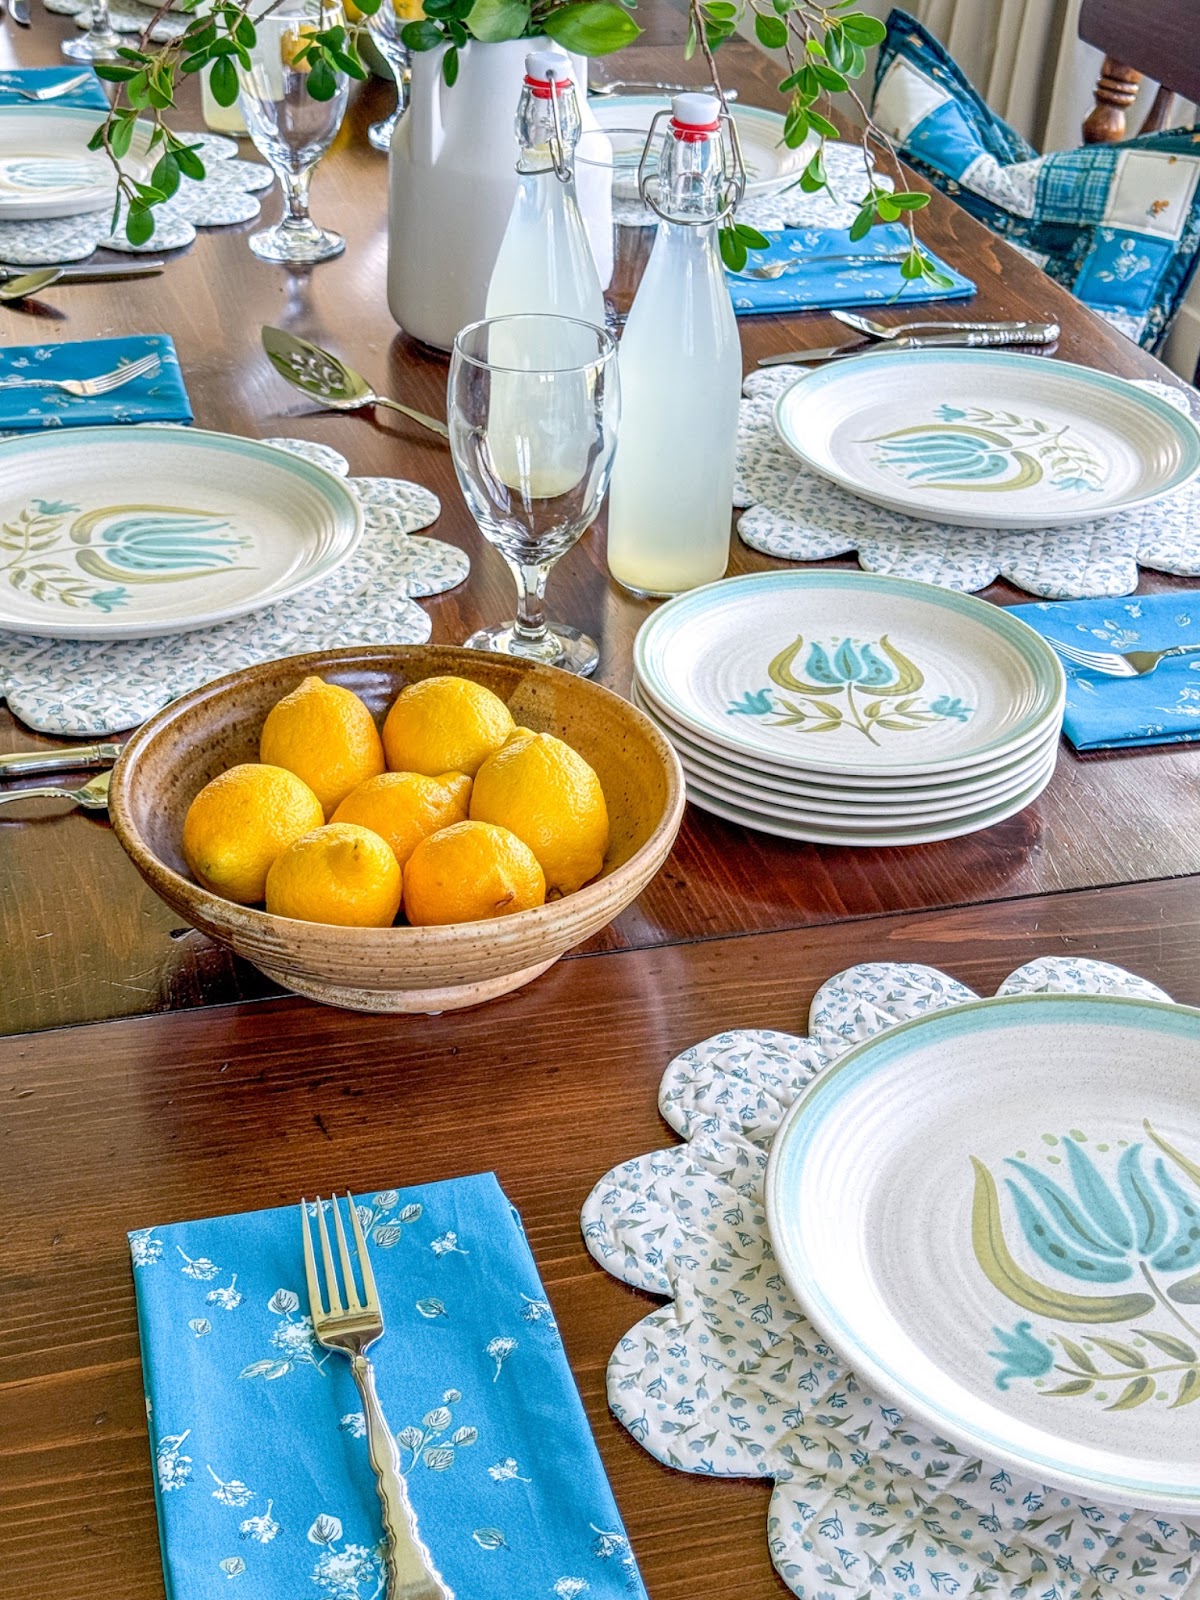
This week’s featured fabric collection is Art Gallery Fabrics Heirloom by Sharon Holland. Childhood memories come alive in vibrant retro hues of orange, teal, lemon, and olive, creating a cheery color story perfect for crafting keepsakes that bridge the past to the future.
The vintage and nostalgic collection is perfect for crafting timeless quilts!
Take a look at some project ideas using this collection:
These scalloped placemats are to die for! Use this pattern from Sweet Little Quilts to make a set of your own.
Mary Gove (@thecurlyquilter) used the Fresh as a Daisy quilt pattern for this gorgeous quilt.
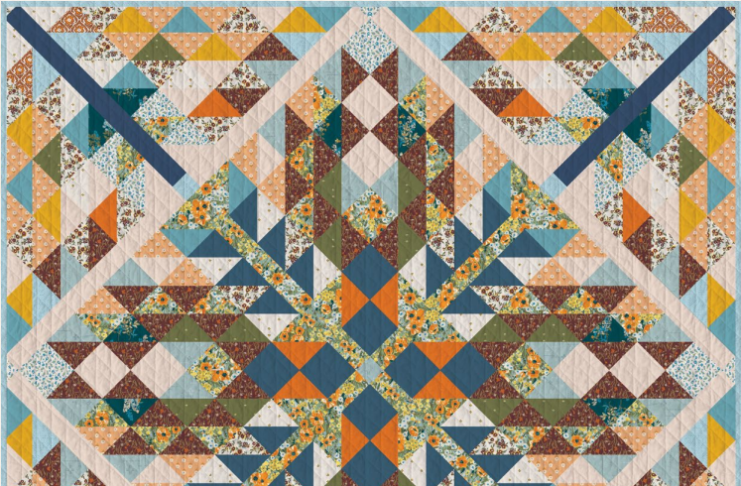
Last but certainly not least, this Retrospection Quilt! The free pattern from Bear CreekBeat beautifully showcases each piece in the collection.
MAKE YOUR LIFE QUILTY
It’s time to add a few more things to your quilting bucket list! We’re squeezing in every bit of summer quilt inspo that we can. These patterns are bright, fun, and born to be sitting with the rest of your summer decor.
It really can’t get much cuter than this strawberry mini quilt. Add a gorgeous pop of color to your home with this quick and fun pattern from Amy of Ameroonie Designs.
It seems to be impossible to find a Suzy Quilts pattern that we don’t love, and this free one is no exception. Few things exude summer as much as this watermelon quilt!
Why not keep the fruit theme going? This lemon pattern from Cotton and Joy Quilts is the perfect combination of fresh and modern.
SHOW US YOUR QUILT PROJECTS!
We’d love to see what you’ve been up to! Send us a pic of your latest and greatest quilt project (with your name and a description of the project) to [email protected]. We hope to feature as many subscriber projects as possible in future issues of the Quiltdom Press.
Also, if you have any suggestions for what you’d like us to cover in the Quiltdom Press, send them to the same email address.
Peace, love, and quilting!
The Quiltdom Press Team
Reply